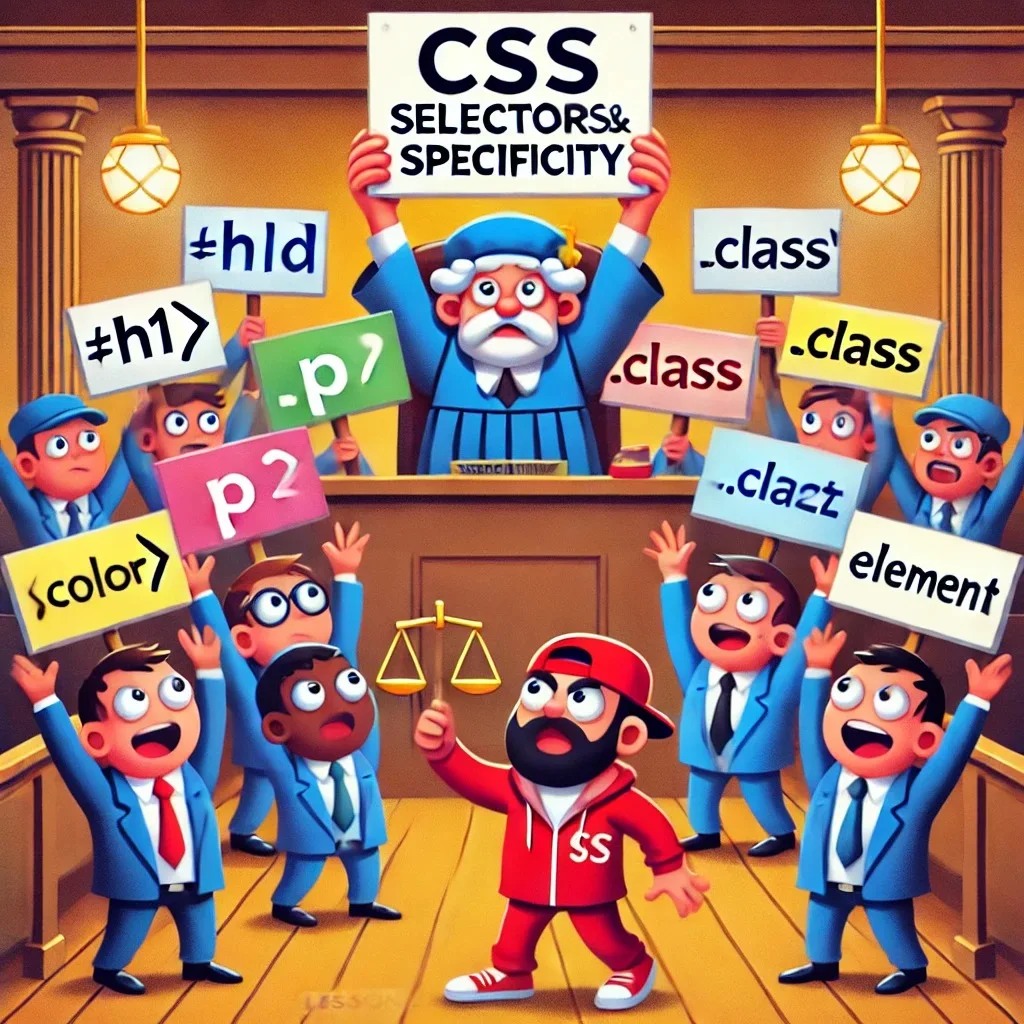
Lesson 2: CSS Selectors and Specificity – Who’s the Boss of Styling?
Overview
Welcome back, coding legend! 🎩 In Lesson 1, you dressed up your HTML, making it go from “just woke up” to “red carpet ready.” But now it’s time to dive deeper into CSS selectors and specificity. If you’ve ever felt like CSS rules are having a family argument over who gets to style what, you’re not alone. This lesson will help you figure out who’s the boss and who’s just a backseat driver.
By the end of this lesson, you’ll know exactly which selector wins in the never-ending fight for style dominance. It’s like figuring out who has the remote control for the TV on a Friday night!
Step 1: Understanding Selectors – The Fashion Police of HTML
Selectors are like those nosy neighbors who always have something to say about your style. They decide which HTML elements to style. Here are some of the most common ones:
Element Selectors (
p,h1,div): Like the referee, they apply styles to all elements of that type. Imagine a rule saying, “Allptags must wear blue shirts.”Class Selectors (
.class-name): They’re a bit more exclusive, like a private club. Only elements with this class can enter.ID Selectors (
#id-name): Think of them as VIP access. Only one element with that ID gets the special treatment. No queue-jumping allowed!Attribute Selectors (
[type="text"]): These are like those bouncers at the club entrance—checking everyone’s ID and only letting in the right attributes.
Step 2: Writing Selectors Like a Pro (No “This Doesn’t Work!” Moments)
Time to put those selectors to work! Open up your trusty styles.css file and let’s test these selectors out. Your index.html should have something like this:
index.html
<!DOCTYPE html>
<html lang="en">
<head>
    <meta charset="UTF-8">
    <meta name="viewport" content="width=device-width, initial-scale=1.0">
    <title>Selectors in Action</title>
    <link rel="stylesheet" href="styles.css">
</head>
<body>
    <h1 id="main-title">Selectors and Specificity</h1>
    <p class="intro">Welcome to the world of selectors!</p>
    <p>Let’s see who’s boss here.</p>
    <div class="container">
        <p class="highlight">I should be highlighted.</p>
        <p>Normal paragraph, just chilling.</p>
    </div>
</body>
</html>
Now, let’s make that styles.css file show them who’s boss:
styles.css
/* Element Selector */
p {
    color: green; /* All <p> elements will be green. Even if they don't want to be. */
}

/* Class Selector */
.highlight {
    background-color: yellow; /* Elements with class "highlight" will glow like a neon sign. */
}

/* ID Selector */
#main-title {
    font-size: 36px; /* VIP treatment for the main title. Make it big! */
}

/* Attribute Selector */
input[type="text"] {
    border: 2px solid blue; /* Only <input> elements of type text get this border. Sorry, buttons. */
}
Save your styles.css and refresh your browser. It should look like a circus parade of colors. But hold on—what happens when we mix them?
Step 3: Host with Caddy (No Drama, Just Code)
Time to see your styling showdown in action! But this time, let’s make your project live on a local server using Caddy.
Open your terminal and navigate to your project folder:
cd ~/Documents/my-css-projectStart Caddy and host your project:
caddy file-server --listen :8080Open your browser and go to:
http://localhost:8080
Voilà! Your project is up and running. You can now play around with selectors and watch them battle it out in real-time.
Step 4: Specificity – The Rule of the Playground (Who Gets to Go First?)
So, what if a <p> tag has both a class and an ID? Who wins? It’s like being back in primary school and trying to figure out who’s in charge of the playground. Here’s how CSS decides:
Inline Styles: Like the headteacher. When they speak, everyone listens. Example:
<p style="color: red;">I’m in charge!</p>ID Selectors: Think of them as the bossy prefects. If an ID wants something, it gets it.
- Example:
#main-titlebeats.highlight.
- Example:
Class Selectors: The teachers—respectable, but sometimes overruled by IDs.
- Example:
.highlightcan color the text, unless there’s an ID or inline style.
- Example:
Element Selectors: The kids on the playground. They have to follow the rules.
When It All Goes Wrong (and You’re Screaming at Your Monitor)
If you’ve ever thought, “Why is my CSS not working?!” it’s probably because of specificity. Try giving your selector more weight:
- Add an extra class (
.container .highlight) to make it stronger. - Or just slap an
!importanton it… but only as a last resort (because it’s like using a hammer to fix a paper cut).
Step 5: Adding Some Drama (Because Why Not?)
Let’s see specificity in action. Add this to your styles.css:
/* Let’s try to override the <p> tag with some class power! */
.intro {
    color: blue; /* Should turn the first paragraph blue. */
}

/* But wait, the ID selector comes in! */
#main-title {
    color: orange; /* Now the title is orange, no matter what. */
}
Save and refresh. It’s like watching a soap opera—one style takes over another, and the drama never ends.
Conclusion
Congrats, you’ve survived the wild world of CSS specificity! You now know why some styles seem to always “win” while others look like they’ve missed the train. With this knowledge, you can create cleaner, more predictable styles and fewer headaches.
Next time, we’ll dive into Flexbox and Grid—the layout systems that will turn your site into a masterpiece of organization. Think of it as giving your site a perfectly tidy wardrobe, no mismatched socks allowed!
See you in the next lesson, where things will get… flexible! 😎