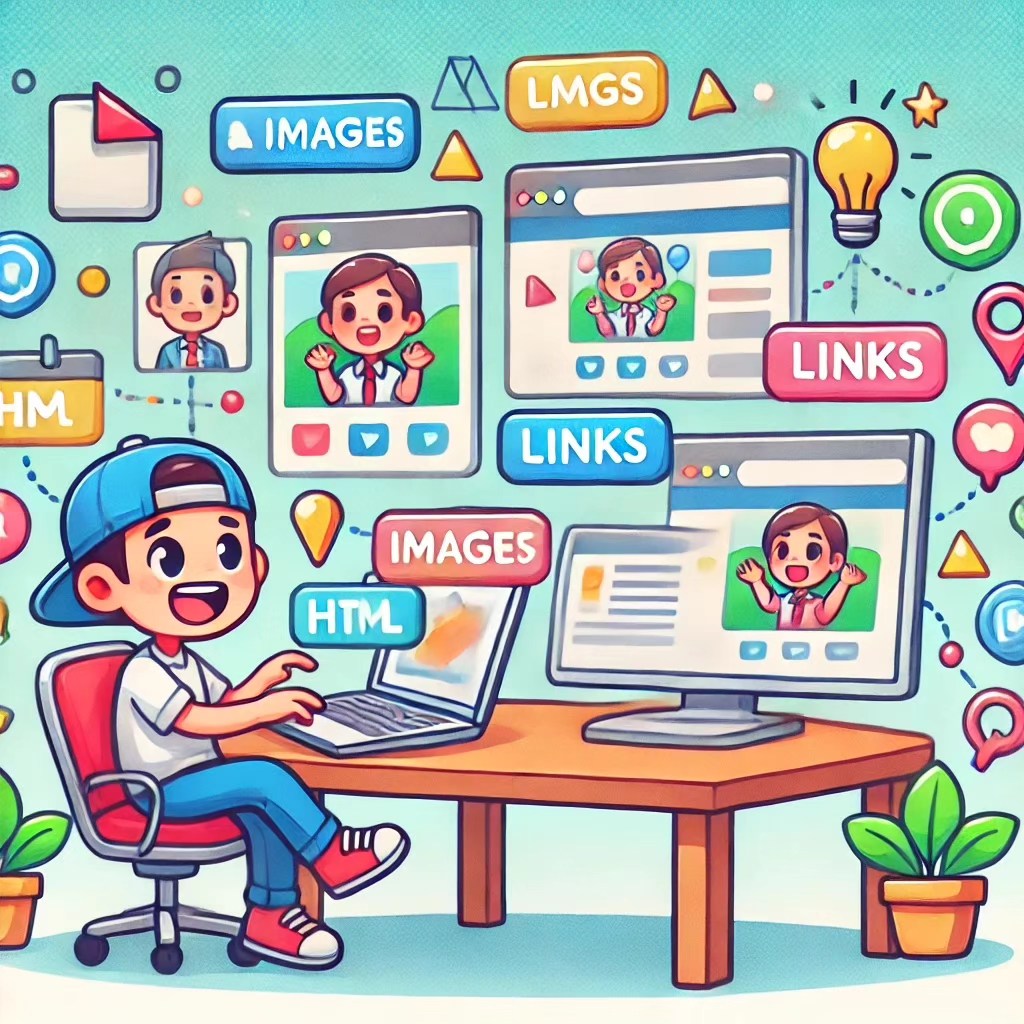
Lesson 3: Adding Images and Links – Because Who Wants a Boring Web Page?
Welcome to Lesson 3! So far, your web page might look like a book report, but we’re about to fix that. Today, we’ll spice things up by adding images and links—because nothing screams “professional” like a page full of cat photos and clickable memes. Let’s take your page from “meh” to “wow” with just a few simple tags!
Adding Images: A Picture’s Worth a Thousand Words (And Fewer Yawns)
Images are like the pepperoni on the pizza of your web page—essential for making things interesting. To add an image, we use the <img> tag. It’s self-closing because, let’s face it, it doesn’t need a partner to be fabulous.
Here’s how to do it:
Variant 1: Using an Image Hosted Online
Got a picture from the internet? Great! Right-click on the image, open it in a new tab, copy the URL, and paste it into the src attribute like this:
<img src="https://example.com/your-image.jpg" alt="Description of the image">
src: The link to your image (think of it as the GPS that tells the browser where the image lives).alt: A short description for when the image refuses to load or when your friends are still using dial-up.
Variant 2: Using a Local Image from Your Computer
Have a picture on your computer? Perfect! Save it in your project folder (let’s say in an images folder), and point to it with the src attribute like this:
<img src="images/my-local-image.jpg" alt="Description of your local image">
Example:
<!-- Using an online image -->
<img src="https://example.com/cool-cat.jpg" alt="A very cool cat lounging on a beach chair">

<!-- Using a local image -->
<img src="images/my-local-cat.jpg" alt="A local cat staring judgmentally at you from your desktop">
Task: Add an Image to Your Page
Find an image—funny, inspirational, or just plain weird—and add it to your page. You can use either a URL from the web or a local image from your computer. Don’t forget the alt text, because nothing says “pro” like a well-described image.
Adding Links: Let’s Give People Somewhere to Go
What’s a web page without some clickable links? With the <a> tag, you can make text clickable and send visitors off to explore the wonderful world of… well, whatever you want.
Here’s the magic formula:
<a href="https://www.example.com">Click here to visit something amazing!</a>
href: This is where the link will take you (no GPS required, but it’s kind of like a digital address).- The text between
<a>and</a>is what your visitors will see and click on—so make it tempting!
Example:
<a href="https://www.cats.com">Check out the ultimate cat photo collection!</a>
Task: Create Some Links
Add a link to your favorite website—whether it’s a blog, a YouTube channel, or the latest TikTok sensation. Just make sure it’s somewhere fun (or, at the very least, informative).
Opening Links in a New Tab
If you don’t want your visitors to leave your page entirely, you can make links open in a new tab with target="_blank". This way, they can admire the new site and return to yours when they’re done.
Here’s how:
<a href="https://www.cats.com" target="_blank">Check out these adorable cats in a new tab!</a>
Now, visitors can enjoy endless cat pictures without completely abandoning your page. Win-win!
Hosting Your Updated Page with Caddy
By now, your page should be looking a whole lot more interesting. Let’s host it again using Caddy so you can show it off to the world (or at least to your roommates).
Step 1: Open Your Terminal
Navigate to the folder where your HTML file is saved. It’s probably in your trusty project folder:
cd ~/my-website
Step 2: Start Caddy
Use this command to host your site locally on port 8080:
caddy file-server --listen :8080
Step 3: View Your Page
Open your browser and visit http://localhost:8080 to check out your newly polished page. It now has images, links, and all the pizzazz it deserves!
Summary:
In this lesson, you learned how to:
- Add images to your webpage using the
<img>tag (both online and from local files). - Create clickable links using the
<a>tag. - Open links in a new tab with
target="_blank"(because who likes losing visitors?).
Your webpage has officially graduated from text-only to a multimedia masterpiece! Next up, we’ll tackle forms so you can start interacting with your visitors. Get ready for more HTML magic!
See also
- How to Set Up the Caddy Web Server to Do All the Work for You (Well, Almost)
- Lesson 7: CSS Animations – Bringing Your Web Pages to Life!
- Lesson 6: CSS Transitions – Making Your Elements Move Smoothly!
- Lesson 5: Media Queries – Making Your Website Look Good on Every Screen!
- Lesson 4: CSS Grid – Mastering the Art of Building a Fancy Tea Party Layout!