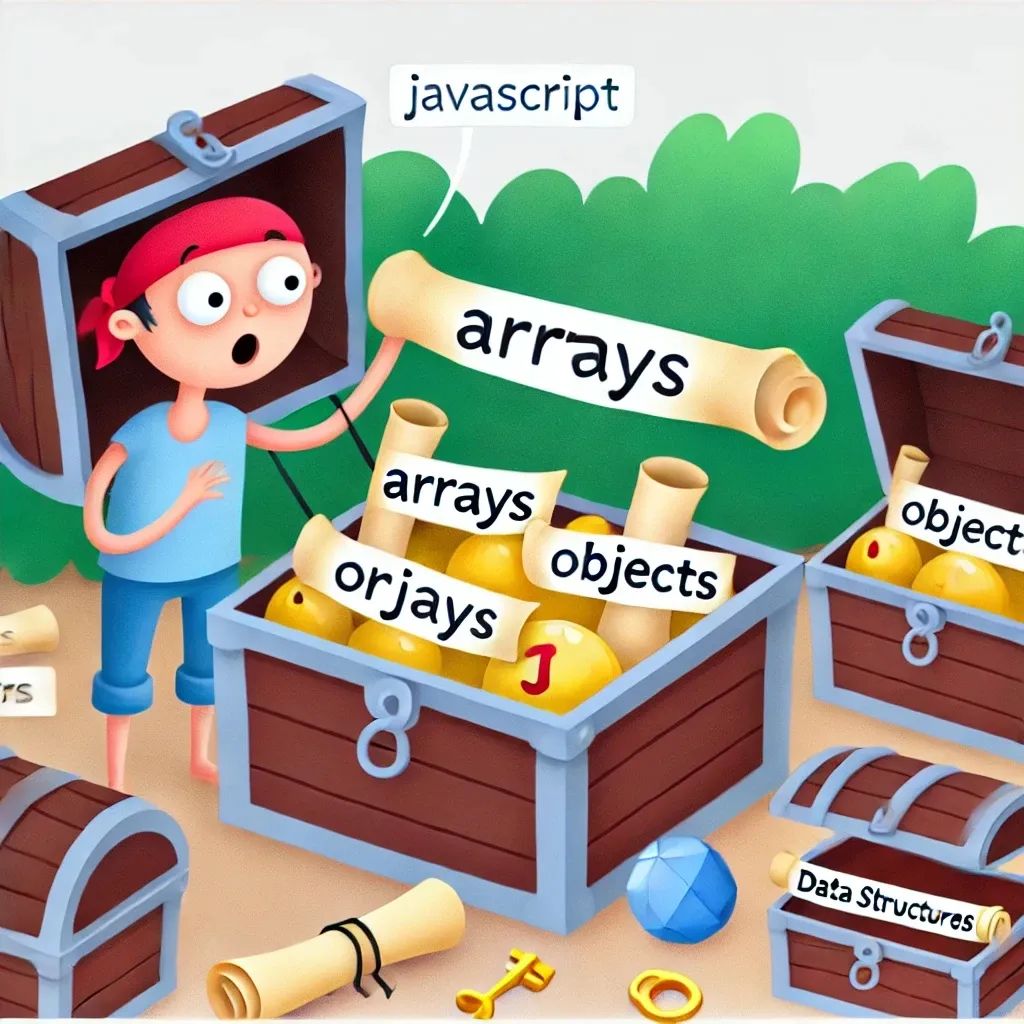
Lesson 3 – Arrays and Objects: Your Treasure Chests of Data 💎📦
Welcome back, data wrangler! This time, we’re diving into arrays and objects—two powerful tools in JavaScript that help you manage data with ease. Think of arrays and objects as your trusty treasure chests where you can store, organize, and retrieve anything you need. Whether it’s a list of tasks or details about your pet hamster, arrays and objects have got you covered.
Arrays – Organizing Like a Pro 📋
An array is a list of items neatly packed in one place. Imagine an array as a row of lockers, where each locker holds a different item (or the same item, if you’re that predictable). Here’s how you can create one:
Creating an Array
To declare an array, you just need some square brackets. Inside, you list your items, separated by commas.
let shoppingList = ["milk", "eggs", "bread", "chocolate"];
console.log(shoppingList);
Here’s what’s happening:
shoppingListis the name of your array.- The square brackets
[]tell JavaScript, “Hey, this is a collection!” - Each item inside the array is separated by a comma, like ingredients in a recipe.
Accessing Array Elements
Need to grab an item from your array? Arrays use zero-based indexing, which means counting starts at 0 (not 1). It’s like starting to count your fingers from your thumb—odd at first, but you’ll get used to it!
console.log(shoppingList[0]); // Outputs: milk
console.log(shoppingList[3]); // Outputs: chocolate
In this example, shoppingList[0] gives you the first item, and shoppingList[3] brings back the last. Easy!
Adding and Removing Items
JavaScript arrays are flexible—just like your diet during the holiday season! Here are some methods to add and remove items:
push(item): Adds an item to the end.pop(): Removes the last item.unshift(item): Adds an item to the beginning.shift(): Removes the first item.
shoppingList.push("bananas"); // Adds "bananas" at the end
shoppingList.pop(); // Removes the last item ("chocolate")
console.log(shoppingList);
Objects – Adding Detail 🗂️
If arrays are your lists, objects are like well-organized file cabinets. Each item has a name (or key) and a value. Imagine an object as a collection of paired items, perfect for when you need to store details.
Creating an Object
An object is defined with curly braces {}, and each property inside has a key-value pair. Here’s a simple example:
let pet = {
  name: "Buddy",
  type: "dog",
  age: 5,
  isFriendly: true
};
console.log(pet);
In this object:
name,type,age, andisFriendlyare keys (the labels)."Buddy","dog",5, andtrueare the corresponding values.
Accessing Object Properties
To access properties in an object, use dot notation or bracket notation:
console.log(pet.name); // Outputs: Buddy
console.log(pet["age"]); // Outputs: 5
Dot notation is great when you know the property name, and brackets are helpful for dynamic access.
Adding, Changing, and Removing Properties
Objects are also quite accommodating—you can add, change, or delete properties as you like:
pet.age = 6; // Updates age
pet.color = "brown"; // Adds a new property
delete pet.isFriendly; // Removes "isFriendly"
console.log(pet);
Combining Arrays and Objects – The Dynamic Duo 🦸♂️🦸♀️
Need a powerful combo? Arrays of objects and objects of arrays are like peanut butter and jelly for your code.
Array of Objects
Perfect for lists of things with details, like a shopping cart or team roster.
let team = [
  { name: "Alice", role: "manager" },
  { name: "Bob", role: "developer" },
  { name: "Charlie", role: "designer" }
];
console.log(team[1].name); // Outputs: Bob
Object with Arrays
Ideal when each property has multiple values.
let classroom = {
  students: ["Alice", "Bob", "Charlie"],
  subjects: ["Math", "Science", "Art"],
  roomNumber: 101
};
console.log(classroom.subjects[2]); // Outputs: Art
Time to Practice!
Let’s put these skills to the test:
Task: Manage a To-Do List
- Create an array named
toDoListwith three tasks. - Add a fourth task to the end.
- Remove the first task from the list.
- Create an object named
taskDetailswith properties liketask,dueDate, andpriority.
let toDoList = ["Buy groceries", "Clean room", "Read book"];
toDoList.push("Exercise");
toDoList.shift();
let taskDetails = {
  task: "Exercise",
  dueDate: "Tomorrow",
  priority: "High"
};
console.log(toDoList);
console.log(taskDetails);
What’s Next?
Nice work! You’ve just unlocked the power of arrays and objects. These structures will keep your data tidy and your code efficient. In the next lesson, we’ll explore DOM Manipulation—how to make your JavaScript interact directly with web pages!
Stay tuned for Lesson 4 – DOM Manipulation: Turning the Web into Your Personal Playground!
Now go ahead and fill those treasure chests with data!
See also
- Lesson 7 – JavaScript Animations: Adding Life to Your Web Pages
- Lesson 6 – Event Delegation: Mastering Efficiency in Interaction
- Lesson 5 – Event Magic: Making Web Pages Interactive
- Lesson 4 – DOM Manipulation: Turning the Web into Your Personal Playground
- Lesson 2 – Loops and Conditionals: Making Decisions and Repeating Yourself (Without Going Crazy)