Lesson 6 – Event Delegation: Mastering Efficiency in Interaction 🎯✨
Welcome to Lesson 6! By now, you’re no stranger to events—you’ve clicked, hovered, typed, and added tasks like a pro. But what if your webpage is full of dynamic elements that didn’t exist when the page loaded? Fear not! Event delegation is here to save the day (and your sanity).
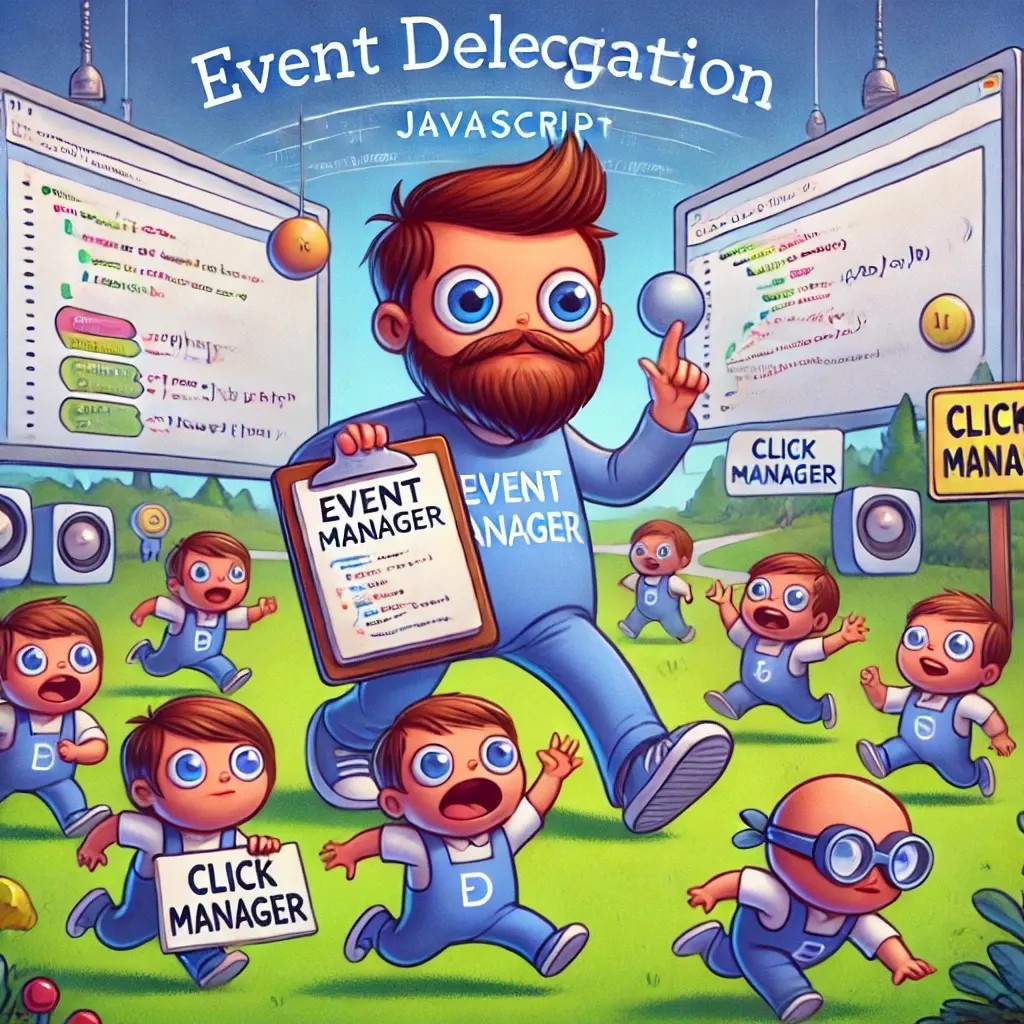
Think of event delegation as hiring a manager instead of assigning individual tasks to every single worker. It’s efficient, elegant, and will make your code run smoother than a fresh install of Linux.
What Is Event Delegation? 🤔
Event delegation is a technique where you add an event listener to a parent element, and it listens for events on its children. Instead of attaching an event listener to each individual element, you delegate the task to their common ancestor.
Here’s the secret sauce: Events in JavaScript bubble up. When an event occurs on a child element, it travels up through its ancestors, triggering any event listeners along the way. This means you can catch events on elements that don’t even exist yet when the page loads!
Setting Up Our Event Playground 🛠️
Create a new folder for this lesson (or add files to your existing
DOM_Project):mkdir Lesson6 cd Lesson6Create an HTML file called
index.html:<!DOCTYPE html> <html lang="en"> <head> <meta charset="UTF-8"> <meta name="viewport" content="width=device-width, initial-scale=1.0"> <title>Event Delegation</title> <style> body { font-family: Arial, sans-serif; margin: 20px; } #parent-container { border: 2px solid lightblue; padding: 10px; margin-top: 20px; } .child { margin: 5px 0; padding: 5px; border: 1px dashed gray; cursor: pointer; } </style> </head> <body> <h1>Event Delegation Playground 🎢</h1> <button id="add-child-btn">Add New Child</button> <div id="parent-container"> <div class="child">Child 1</div> <div class="child">Child 2</div> <div class="child">Child 3</div> </div> <script src="script.js"></script> </body> </html>Create a JavaScript file called
script.js:const parentContainer = document.getElementById("parent-container"); const addChildBtn = document.getElementById("add-child-btn"); // Event delegation: listen for clicks on children via the parent parentContainer.addEventListener("click", function(event) { if (event.target.classList.contains("child")) { alert(`You clicked on ${event.target.textContent}`); } }); // Add new child elements dynamically addChildBtn.addEventListener("click", function() { const newChild = document.createElement("div"); newChild.classList.add("child"); newChild.textContent = `Child ${parentContainer.children.length + 1}`; parentContainer.appendChild(newChild); });
Serving Your Project Locally with Caddy 🌐
If you’ve already installed Caddy, starting the server is super simple:
Navigate to Your Project Folder:
cd Lesson6Start the Caddy Server: Use the following command to serve your project:
caddy file-server --listen :8080Open Your Browser:
- Go to http://localhost:8080 to view your project live.
That’s it! Your project is now running, and you can interact with it in real-time. Don’t forget to use Ctrl + F5 if your changes don’t show up immediately.
How It Works ⚙️
- Initial Setup: The
parentContainerstarts with three children (Child 1,Child 2, andChild 3). - Adding Event Listener to Parent: Instead of adding a click listener to every child, we add it to the parent. The magic of event bubbling ensures that clicks on the children are caught by the parent.
- Dynamic Elements: Clicking the “Add New Child” button dynamically creates new child elements. The parent’s event listener automatically works for these new elements—no extra code required!
Why Use Event Delegation? 🚀
- Efficiency: You don’t need to attach event listeners to every element individually.
- Simplicity: One listener to rule them all! Perfect for dynamic content.
- Performance: Fewer listeners mean better performance, especially for large applications.
Let’s Test It Out 🧪
- Open your browser and navigate to http://localhost:8080.
- Click on existing children (
Child 1,Child 2,Child 3) to see the alert. - Add new children using the “Add New Child” button and click them. The parent’s event listener works seamlessly for these dynamically added elements too!
Refreshing with Ctrl + F5 🔄
If your changes don’t appear immediately, remember to hit Ctrl + F5 to clear the cache and reload the page. Trust me, it’s like giving your browser a fresh cup of coffee.
What’s Next?
Fantastic job! You’ve learned how to manage events efficiently with event delegation. In the next lesson, we’ll dive into JavaScript animations, where we’ll make your web pages move, bounce, and fade like they’re auditioning for Broadway.
Stay tuned for Lesson 7 – JavaScript Animations: Adding Life to Your Web Pages!
Now go and delegate like a boss! 🎠
See also
- Lesson 7 – JavaScript Animations: Adding Life to Your Web Pages
- Lesson 5 – Event Magic: Making Web Pages Interactive
- Lesson 4 – DOM Manipulation: Turning the Web into Your Personal Playground
- Lesson 3 – Arrays and Objects: Your Treasure Chests of Data
- Lesson 2 – Loops and Conditionals: Making Decisions and Repeating Yourself (Without Going Crazy)