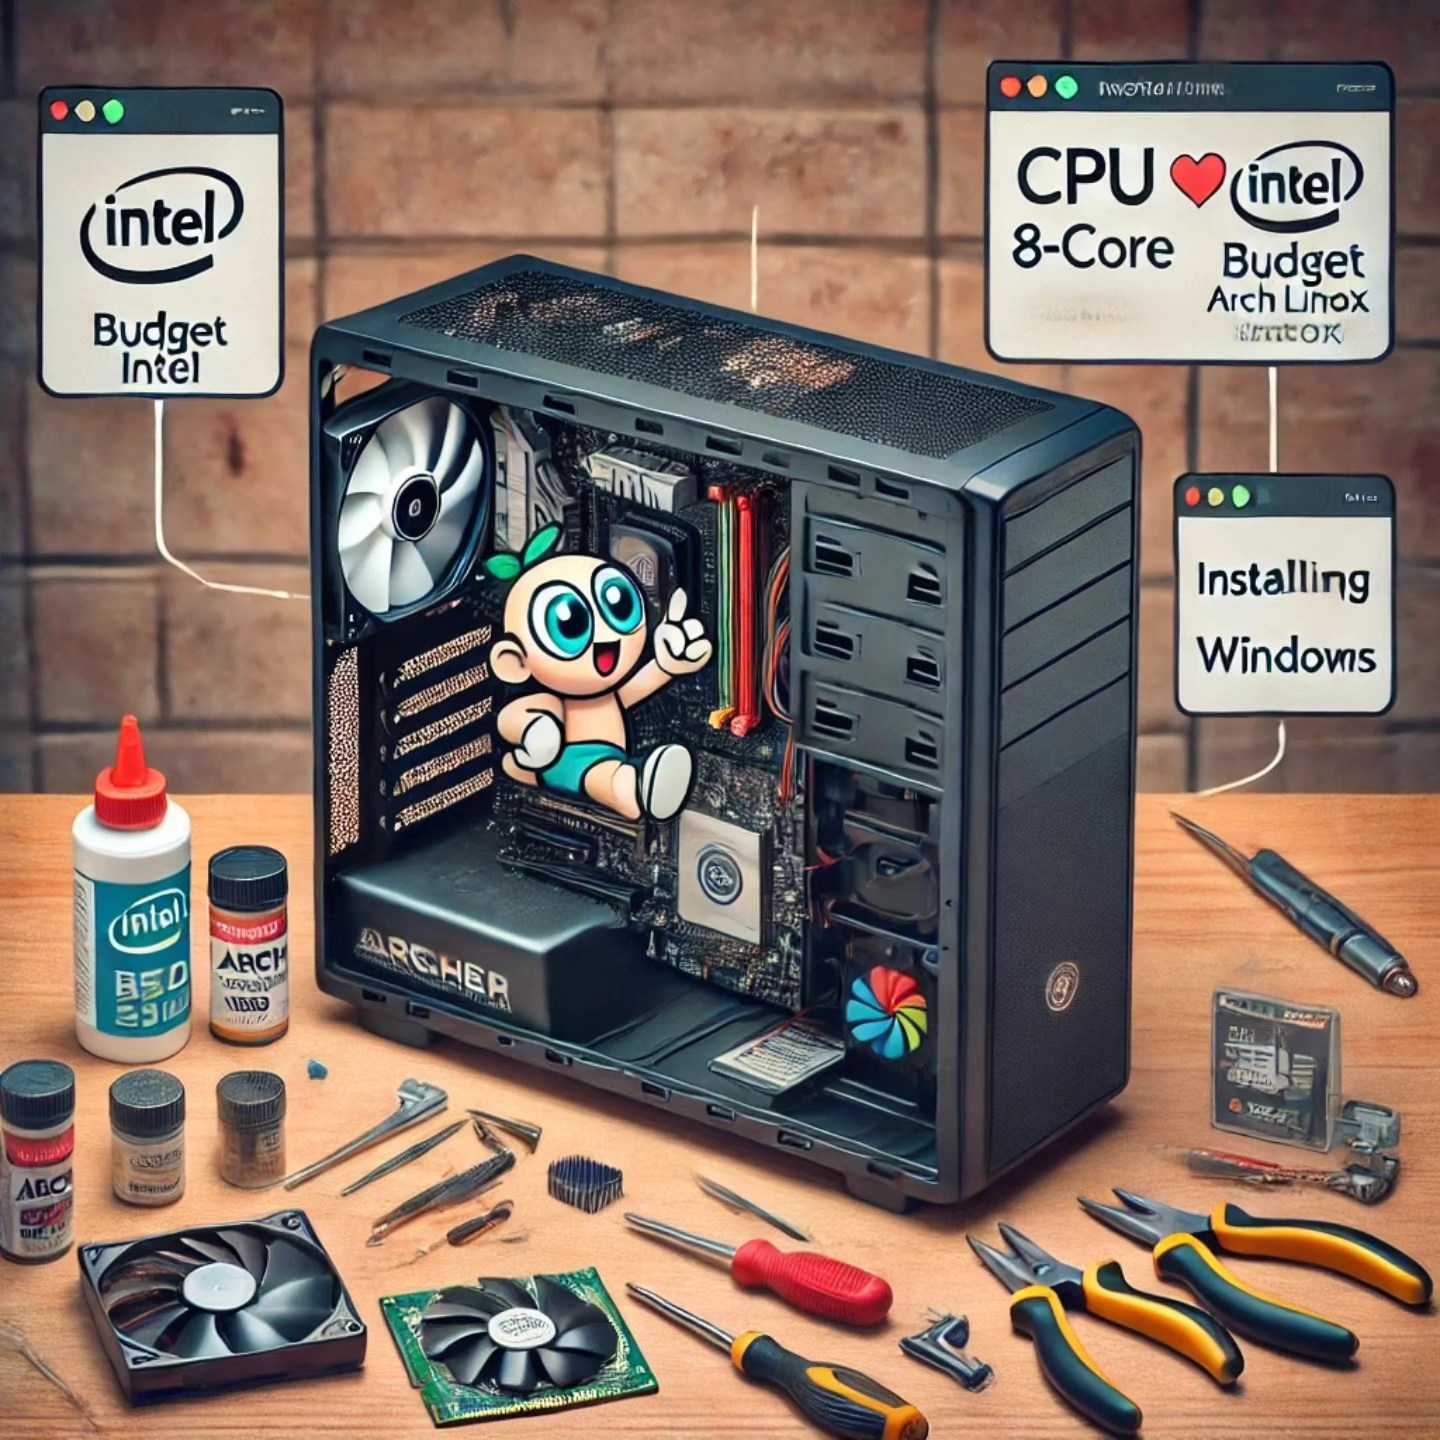
Building a Budget 8-Core Intel Beast for Arch Linux (Or Windows, if You Must)
Introduction
So, you’ve finally decided to build your own Intel-based PC. Maybe you’re tired of your old machine wheezing every time you open a browser tab, or perhaps you just want to impress your friends with your mad tech skills. Either way, you’re in the right place! Today, we’re going to build a budget-friendly, 8-core Intel beast that’ll run Arch Linux like a dream—or Windows, if you prefer the path more traveled.
Pro Tip: Once your shiny new PC is assembled, be sure to check out my step-by-step guide on How to Install Arch Linux and turn this bad boy into a lean, mean, open-source machine. But hey, if you’re more of a Windows kind of person, I won’t judge… much.
The Parts List: The Recipe for Your Digital Feast
Let’s gather the ingredients for our tech banquet. Think of this as the ultimate grocery list, but instead of cooking dinner, you’re cooking up one serious piece of hardware.
1. CPU: Intel Core i7-9700
- Why It’s Awesome: With 8 cores and 8 threads, this CPU is like the Swiss Army knife of processors—except it won’t accidentally stab you. It’s fast, it’s reliable, and it won’t leave you broke.

2. Motherboard: ASUS B365M-PLUS
- Why It’s Awesome: This motherboard is like the glue that holds your digital empire together. It’s got enough ports and slots to make you feel like you’re running a small data center, but without needing an IT degree to figure it out.

3. RAM: Corsair Vengeance LPX 32GB (2x16GB) DDR4 3200MHz
- Why It’s Awesome: 32GB of RAM is like having a brain that never forgets—perfect for multitasking, gaming, or pretending to work while watching cat videos. Corsair Vengeance LPX is fast, reliable, and it looks cool too.

4. Storage: Kingston A2000 1TB NVMe M.2 SSD
- Why It’s Awesome: This SSD is so fast, it makes a cheetah look like it’s jogging. With 1TB of space, you can store all your files, games, and embarrassing selfies without a second thought.

5. Power Supply: EVGA 500 W1, 80+ WHITE 500W
- Why It’s Awesome: This power supply is like the heart of your PC—it keeps everything running smoothly, and it won’t skip a beat even when you’re pushing your system to the limit.

6. Case: Cooler Master MasterBox Q300L
- Why It’s Awesome: This case is like the stylish outfit that shows off your PC’s personality. It’s compact, cool, and comes with enough airflow to keep your components from overheating when the action heats up.

7. Thermal Paste: Arctic MX-4 (a.k.a. CPU Sunscreen)
- Why It’s Awesome: Think of thermal paste as sunscreen for your CPU—it keeps things cool when the heat is on. Arctic MX-4 is easy to apply, non-conductive, and ensures your CPU stays frosty, no matter how intense things get.

Applying Thermal Paste: The Art of Not Overdoing It
Applying thermal paste might sound scary, but it’s actually pretty simple—just like spreading butter on toast, but with fewer crumbs. Here’s how to do it:
Get Your Workspace Ready: Make sure your workspace is clean and static-free. No one likes a dusty sandwich, and your CPU feels the same about thermal paste.
Place the CPU in the Socket: Drop that CPU into the motherboard’s socket, making sure it’s snug and secure. It’s like finding the perfect spot for your favorite book on the shelf.
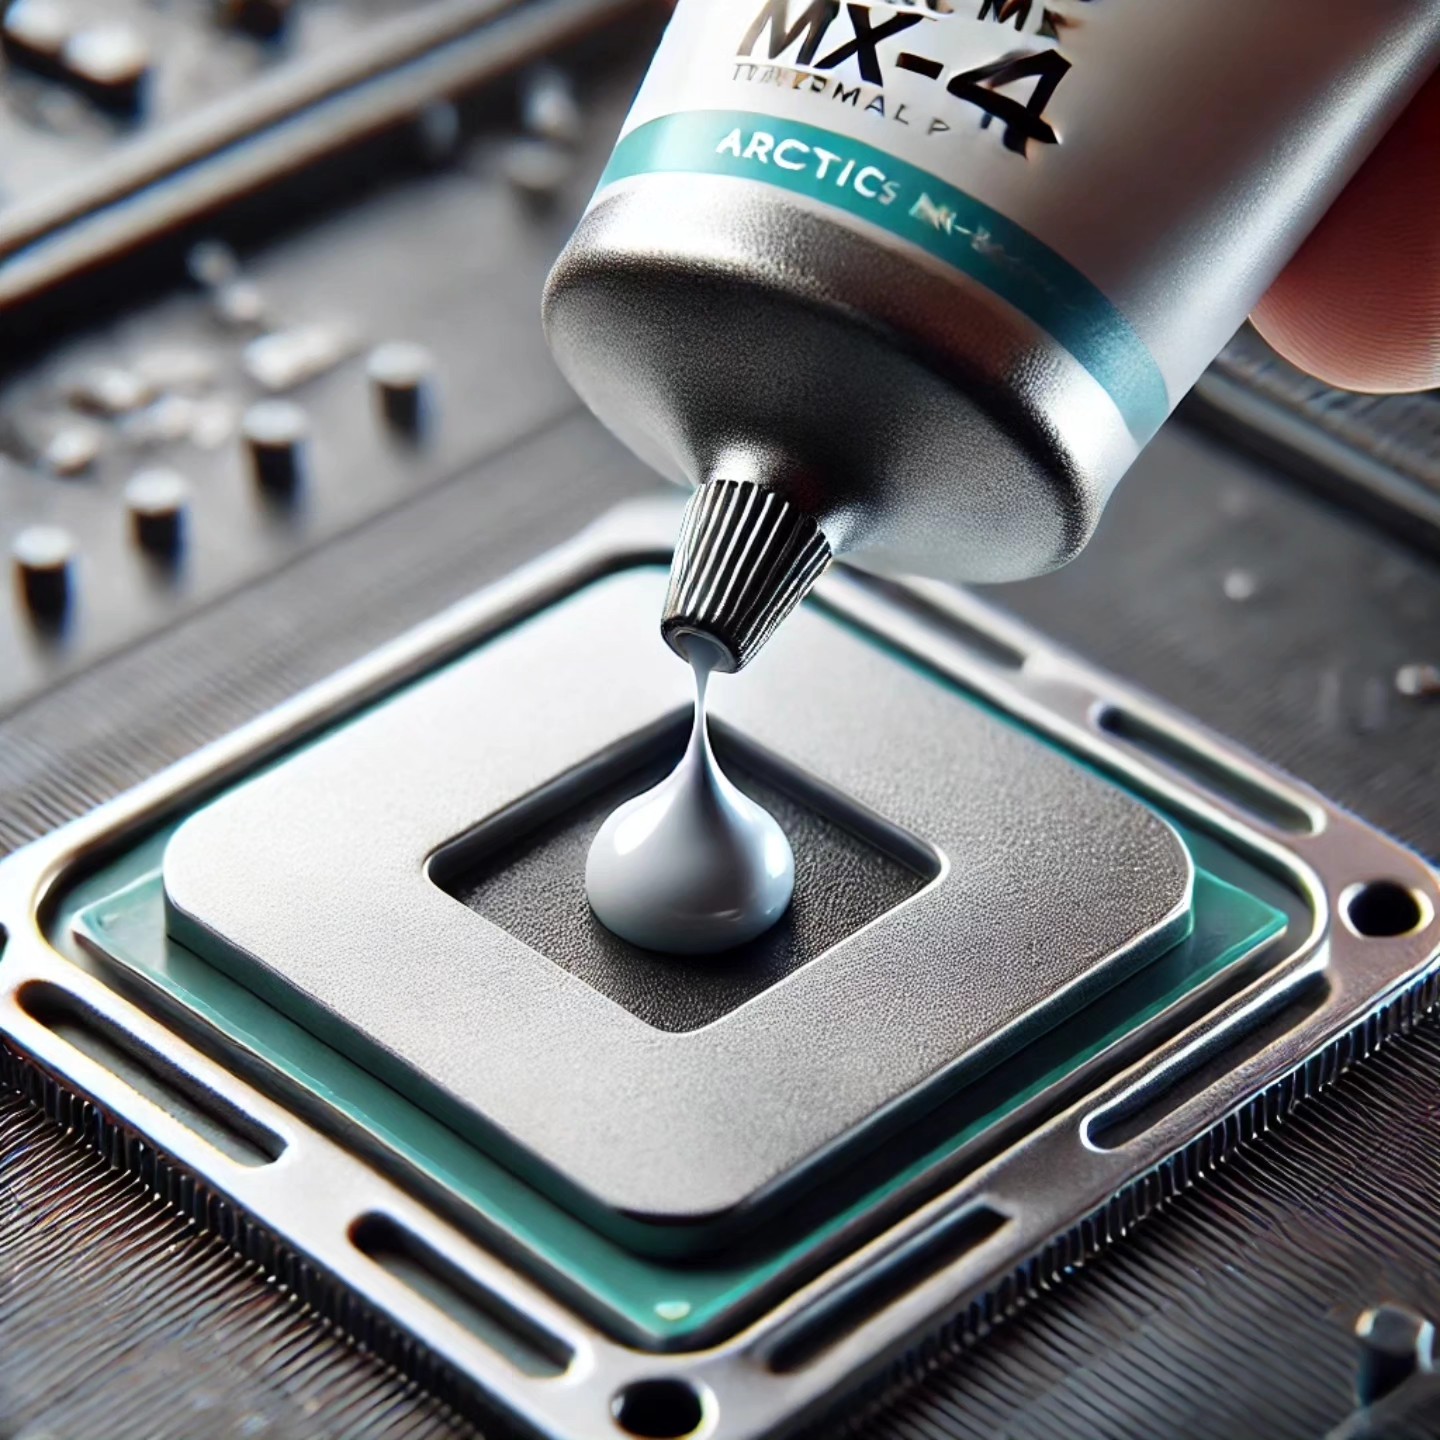
Apply a Pea-Sized Blob of Thermal Paste: Squeeze out a small, pea-sized blob of Arctic MX-4 right onto the center of your CPU. Remember, we’re not making a sandwich here—less is more.
Spread It Out (If You’re Feeling Fancy): You can spread the paste evenly using a plastic card or a dedicated tool, or just let the cooler do the work when you mount it. Either way, you’re golden.
Mount the CPU Cooler: Carefully place the cooler on top of the CPU and secure it according to the instructions. The cooler will spread the paste evenly, keeping your CPU chill under pressure.
Check for Spillage: Give it a quick look to make sure there’s no paste oozing out. If there is, wipe it away with a lint-free cloth—easy peasy.
Now your CPU is all set to stay cool, calm, and collected, whether you’re compiling Linux kernels or playing Minesweeper on Windows.
Assembling Your PC: Putting Together the Digital Jigsaw Puzzle
With all the parts in hand, it’s time to assemble this bad boy. Here’s how to do it without pulling your hair out:
Install the CPU: You’ve already got the thermal paste on, so now just secure the cooler and admire your handiwork.
Install the RAM: Slide the Corsair Vengeance LPX sticks into their slots on the motherboard. Listen for the click—it’s like your PC saying, “Yes, more power!”
Install the SSD: Pop the Kingston A2000 NVMe SSD into the M.2 slot on the motherboard. This little stick is what’ll make your system feel lightning-fast.
Mount the Motherboard: Secure the motherboard inside the case using the provided screws. Make sure everything lines up, and double-check those standoffs—no one likes a short circuit.
Install the Power Supply: Slide the EVGA 500W power supply into place and screw it in. Then, connect all the necessary cables to your motherboard, CPU, and other components. Pro tip: Keep those cables tidy—it’s like decluttering your digital desk.
Mount the Case Fans: Make sure your case has plenty of airflow by mounting the fans. Cooler components mean a happier PC, so don’t skimp on this step.
Connect the Peripherals: Hook up your monitor, keyboard, mouse, and anything else you plan to use. Plug them into the I/O panel, and you’re good to go.
Installing Arch Linux (or Windows, If You Must)
Now that your budget beast is assembled, it’s time to install the operating system. For those adventurous souls who want to dive into Arch Linux, follow my detailed guide on How to Install Arch Linux and turn your new PC into a fortress of open-source awesomeness.
But hey, if you’re more comfortable with Windows, just grab a Windows installation USB and go through the setup. Either way, your new machine is ready to handle whatever you throw at it.
See also
- Installing VS Code on Linux: When Coding Becomes as Easy as Making Coffee
- Installing `yay` on Arch Linux
- Arch Linux vs. Ubuntu vs. Fedora: The Linux Family Reunion
- How to Upgrade from IntelliJ IDEA Community Edition to Ultimate Edition on Arch Linux
- How to Prepare Your Computer for Java and Install IntelliJ IDEA commiunity edition on Arch Linux